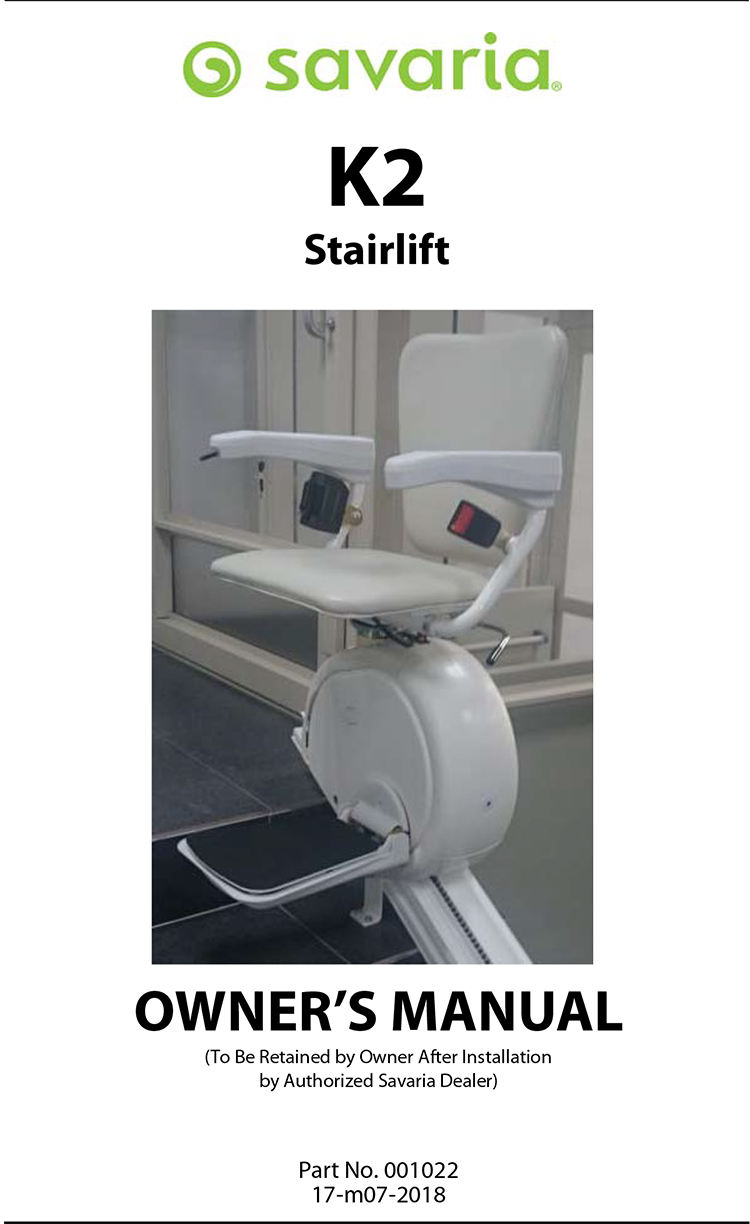
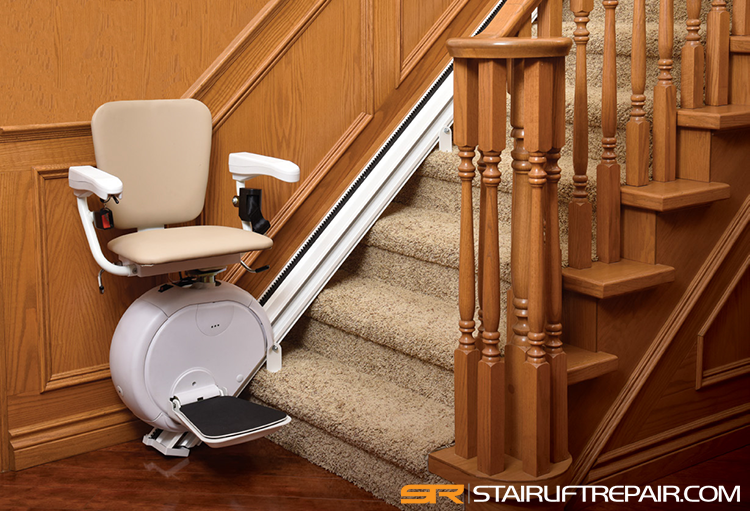
The Savaria K2 stairlift is a battery-operated model that runs on a straight rail track. If your Savaria K2 starts to run slow and beep you’ll need to call for service. This is likely a problem with the batteries or charging system and needs to be serviced by a Savara stairlift repairman.
Tip: Do NOT turn off the power switch after each trip. Turning off the power switch stops the batteries from charging and this action will eventually drain the batteries.
Diagnostics Codes
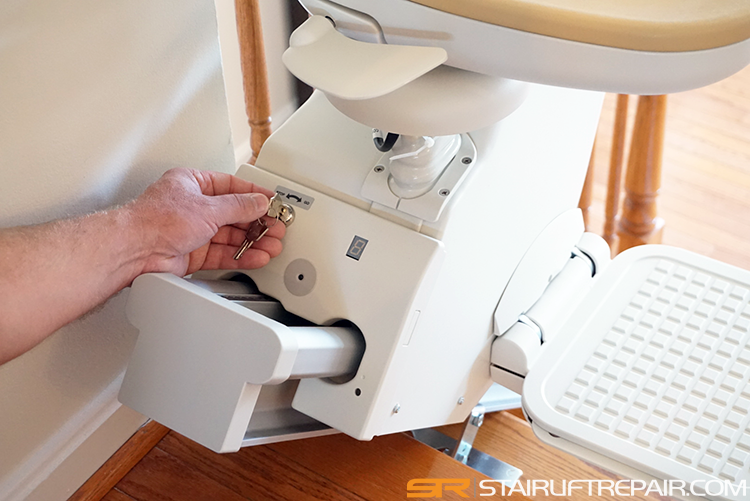
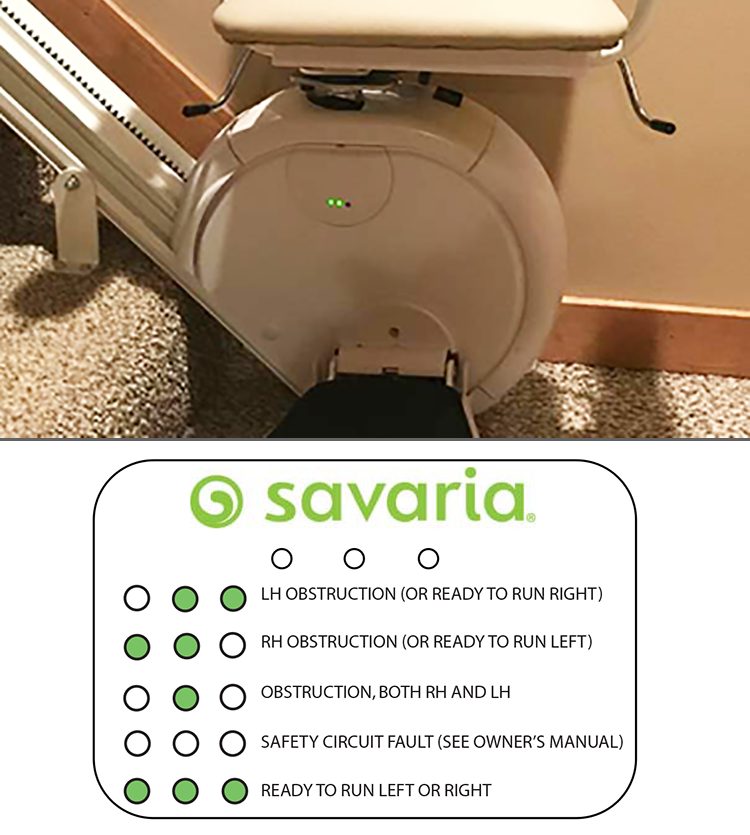
Diagnostic LEDs on the carriage front panel. There are three LEDs located on the carriage front panel that can help troubleshoot basic problems.
| LEDs | Meaning |
|---|---|
| Middle and right LEDs ON | Left-hand obstruction (or ready to run right) |
| Middle and left LEDs ON | Right-hand obstruction (or ready to run left) |
| Middle LED ON | Obstruction, both right-hand and left-hand |
| All LEDS OFF | Safety circuit fault |
| All LEDs ON | Ready to run left or right |
Code Status/Fault Recommended Corrective Action checked if diagnostics display is present.
No display. Press the UP/DOWN rocker switch and see if the display comes on. Check that the key switch and ON/OFF switch are turned on.
0 – Overspeed device has been tripped. Call for service
2 – Batteries not charging (beeping sound). Check that the charger is plugged in. Charger unit may need to be replaced if the wall outlet is providing correct voltage A service tech can also check that the charger plungers are contacting the charger strip.
4 – Safety edge switch (bumper) in up direction is activated. The upper limit safety switch is activated. Footrest bumper in up direction is activated. Remove any obstacle that may have activated the switch. If necessary, run the unit in the down direction. Check the switch. Remove any obstacle in the pathway of the footrest.
5 – Footrest bumper in down direction is activated. Underpan switch is activated. Remove any obstacle in the pathway of the footrest. Remove any obstacle from underneath the footrest underpan.
6 – Safety edge switch (bumper) in the down direction is activated. The lower limit safety switch is activated. Remove any obstacle that may have activated the switch. Check the switch. If necessary, run the unit in the up direction. Check the switch.
7 – Batteries approaching critical level and need charging or replaced.
6 – Safety edge switch (bumper) in the down direction is activated. The lower limit safety switch is activated. Remove any obstacle that may have activated the switch. You have reached the lower limit. Run the unit in the up direction.
7 – Batteries approaching critical level and need charging. Check the charger and verify its plugged into a working outlet.
8 -A switch is active at power-on (toggle up, toggle down, IR up, IR down, or learn).
The K2 Stairlift user manual
