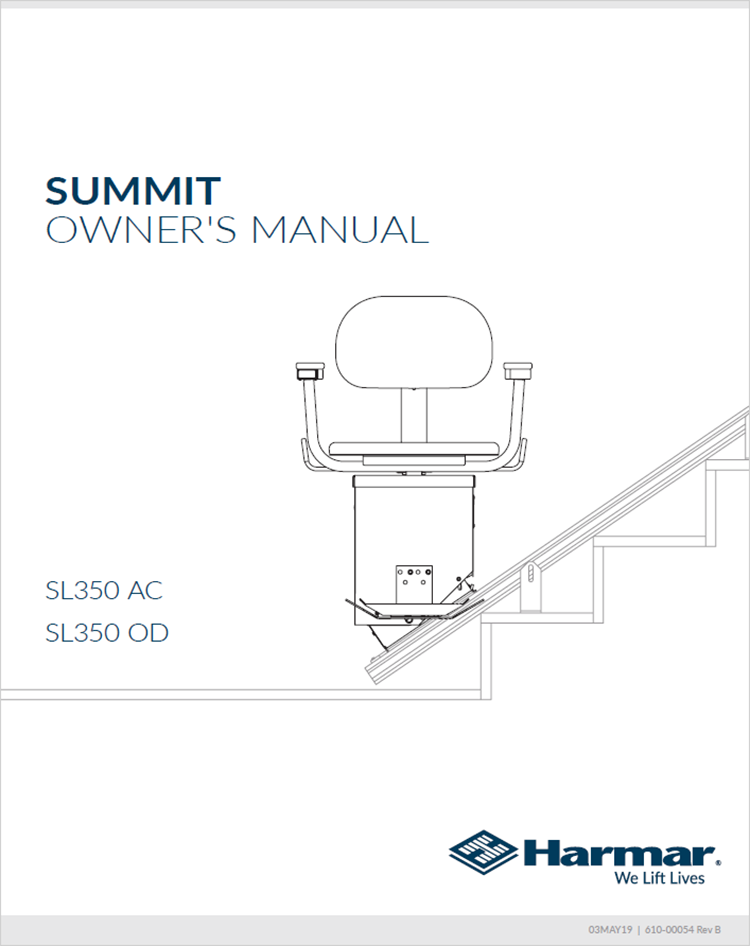
The Summit Stairlift is sold under a few different brand names including AmerGlide and also by the manufacturer Harmar as the SL350AC Stair Lift. The original Summit Stairlift is an AC-powered, winding drum cable unit. Newer versions were also manufactured in DC or battery-powered models.
The most common repair for this lift is a slack cable usually caused by a build-up of debris on the track, sudden movement of the lift, or braking issues. If your Summit lift has stopped working contact us to schedule service. Also for more information check the owner’s manual and troubleshooting guide below.
Troubleshooting your Summit Stairlift
These tips might save you a service call. Make sure you remove power from the lift before attempting any of the following items or just call for service.
Overview of your Summit Lift
Power Indicator Light – AC-powered units. This small green light at the top of the track indicates power is on to the unit. If it is not lit, the unit will not run. This is generally the result of a blown circuit breaker. The circuit breaker is located under the light and is re-settable.
Charger Light – Battery-powered units – This small light located on the charger gives you a constant picture of the charger’s operation. A green light indicates the batteries are completely charged. A reddish/orange light indicates the charger is charging the batteries. Should there be no light—or the light is continually flashing, contact the factory.
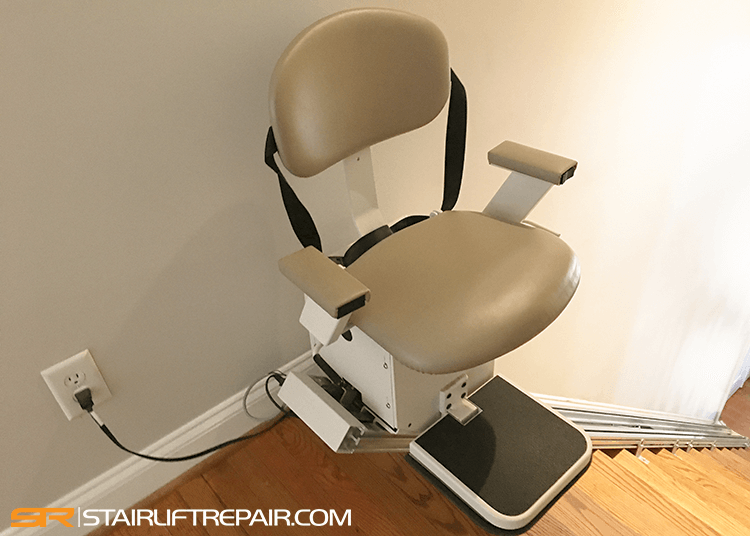
Unit Control Switch – This is a rocker switch located on the front of the armrest. It must be pushed and held during the entire travel of the lift. Pushing one side moves the lift up, the other side moves the lift down. The lift will automatically stop when it reaches the end of the track or anytime you release the control.
Swivel Seat – The seat swivels at the top and bottom landings to facilitate getting on and off the lift. To swivel the seat, pull up on the handle on either side of the seat and use your body to turn the seat in the direction desired. Make sure the seat locks before attempting to mount or dismount the lift. Returning the seat to its forward, locked position before operating the lift is very important. A safety switch under the seat prevents the lift from moving unless the seat is forward and locked in place.
Seat Belt – A seat belt is provided to keep you firmly in the chair during the travel of the lift. Never operate the lift until the seat belt is fastened securely around your waist.
Obstructions – Always check the stairway and track to make sure there are no obstructions before traveling up or down the stairs. Never operate the lift if anything or anyone is on the stairway. The footrest is equipped with a sensor to stop the lift if it should strike anything. If this happens, push the unit control in the opposite direction to move away from the obstruction.
Landing Controls – A remote control is provided at the top and bottom of the stairs. Pressing the control will bring the lift to you. The lift will stop automatically when it reaches the end of the track. It will also stop if you release the control.
Lift not running, steel drive cable is slack or loose.
A “slack cable” safety device stops the lift from running if any slack is sensed in the cable. To reset the device the following should be done by a stairlift tech: They’ll need to remove the round plastic hole cover in the top side of the lift facing uphill. Insert the hand-crank tube onto the pulley and turn clockwise until the cable is fully wound tightly on the drum and the lift begins coming up the track. A loud click will occur indicating the safety device has been reset.
The lift should now run. If not, a technician will have to use an alternative method for resetting the slack cable device. When this happens the cause will need to be identified or it will likely become a recurring issue. The steel cable can also unwind from the drum and should always be inspected before any movement of the lift.
Lift all the way at top of the track and won’t run.
The lift hit the final limit switch meaning it has run too far up. A lift technician can try to reset it with the following steps. Remove the round plastic hole cover in the side of the lift facing uphill. Insert the hand-crank tube onto the pulley and turn counter-clockwise 4-5 turns until the lift moves down the track about 1”. Slide the final limit actuator (metal tab sticking up off the track) down until it touches the lift. The lift should now run. Lower the top switch cam about 1/2” to keep the problem from recurring.
Summit Lifts Owners Manual
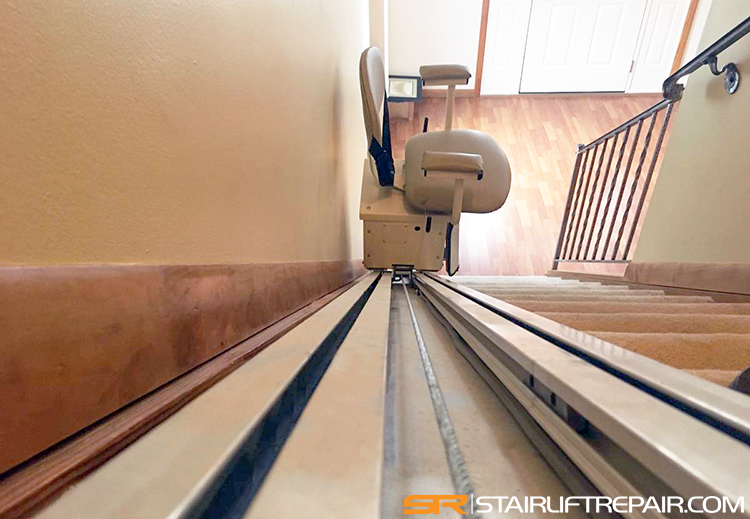
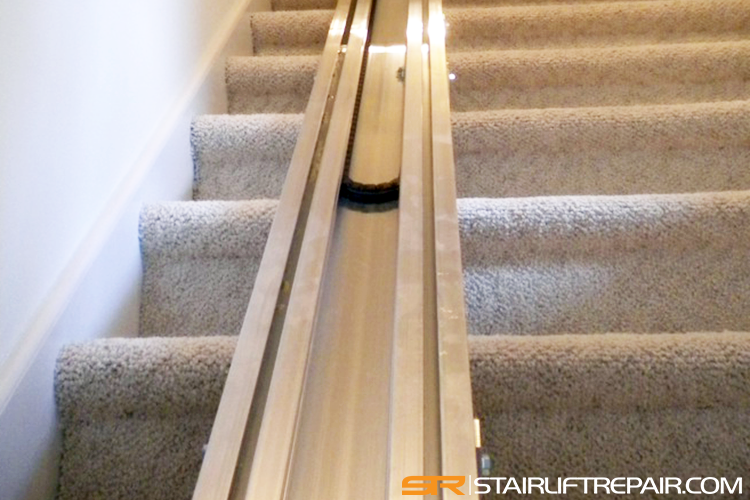
The main drive cable should always have tension as shown in this picture. If the cable becomes loose or slack the braking system will shut the lift down as a safety feature. Always make sure the track and cable are kept clean and free of any dust, debris, or obstructions. When this happens we always recommend calling for service.